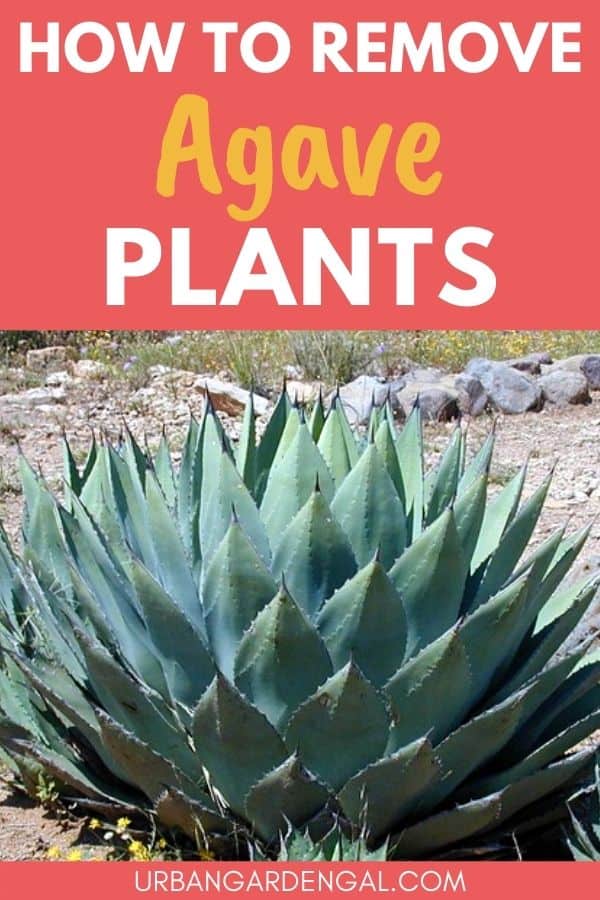
Agave are easy to grow, drought tolerant succulents that spread rapidly, blanketing the garden with their rosette shaped leaves.
In this article I’ll share step by step instructions to remove overgrown agave plants from your garden.
This post contains affiliate links. Please read the disclosure for more info.
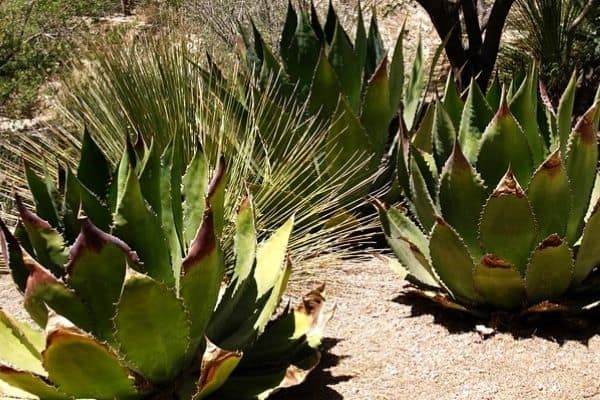
Agave are popular landscape plants in xeriscape gardens and drought tolerant areas because they need very little water once established.
If allowed to grow unchecked, agave can quickly take over an entire garden and require a great deal of effort to remove.
It is much easier to keep these plants at bay in the early stages instead of having them spread throughout your garden.
Here’s how to remove unwanted agave plants from your garden:
Things you’ll need:
- A sharp shovel or spade
- Long handled clippers
- Large garbage bags or a tarp
- Thick gloves
- Goggles
1. Remove the pups
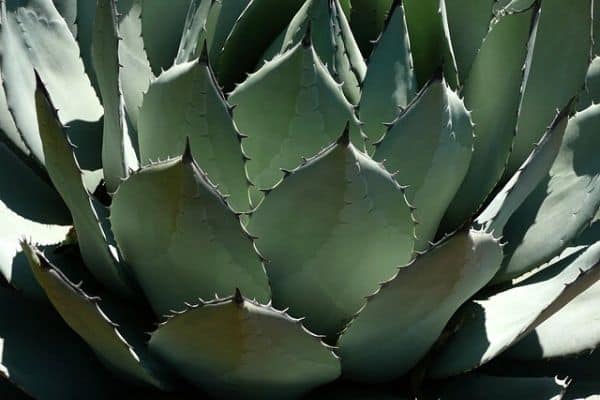
Agave pups are small offshoots that grow from the side of the parent plant.
The pups spread quickly, which makes them difficult to remove once they’re mature, so if you catch them when they’re small, you can remove them relatively easily.
The easiest way to remove agave pups is to dig them out with a shovel.
You can give the pups away or plant them in pots to control their growth.
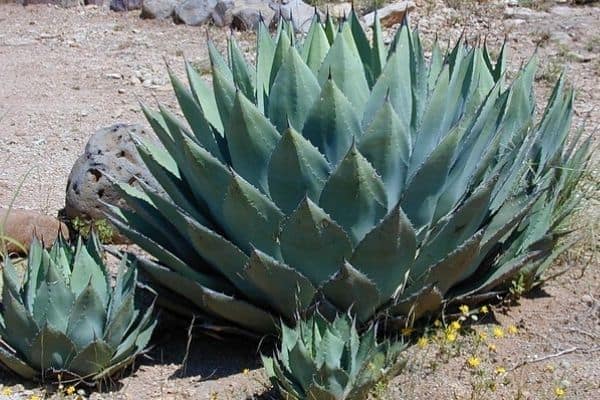
2. Cut them down
Use long handled clippers to remove as many of the spiky leaves as possible.
Start at the edges and work towards the center, cutting the plant back to just above ground level.
Place the cuttings in your compost pile or garden waste bin.
Avoid composting agave cuttings because you’ll have thorns and unwanted plants popping up in your compost.
3. Start digging
Use a shovel to dig down at least 12 inches (30 cm) deep and remove as much of the root system as possible.
If the agave is very large you may need to dig down two to three feet (60 to 90 cm) deep.
Agave plants form large underground rhizomes and regenerate by sending up new shoots from the rhizome, so try to remove as much of it as possible.
Continue digging around the perimeter of the plant to remove any hidden roots.
Over the coming weeks and months, keep an eye on the area and remove any new plants that pop up as soon as you see them.
If you stay vigilant, you should be able to replant the area without having to worry about any more nuisance agave plants.
Always wear long-sleeves, thick gloves and goggles when working with agave plants, especially if you’ve never worked with them before.
They have very sharp, needle-like spines that will stick in your skin and get underneath your fingernails.
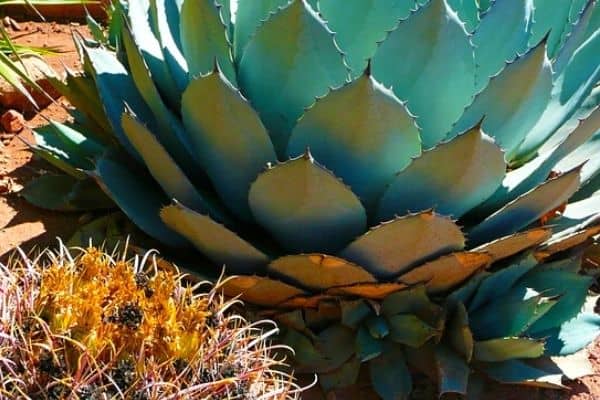
Using herbicide
Spraying agave plants with a herbicide should be a last resort.
Herbicides may help prevent them from spreading, but this method is not very effective unless you spray the entire plant, which can be difficult when working in a large garden.
For best results, remove unwanted agave plants as soon as you see them growing in your garden.
The less established they are, the easier they will be to pull out of the ground.
Using the steps above to remove agave plants will save you a great deal of time and effort in the long run.
Transplanting agave plants
If you want to transplant an agave plant, try to keep at least 12 inches (30 cm) of the roots attached and replant it as soon as possible.
Agave plants usually survive transplanting and form new roots fairly quickly.
RELATED ARTICLES
So there are my tips for removing unwanted agave plants from your garden.
Agave are easy to remove and transplant once you know how to do it properly.
If you keep an eye on the area and get rid of any new growth that appears, you will eventually be able to keep them out of your garden for good.
Have you had success removing overgrown agave plants? Let me know in the comments below.
Are you on Pinterest? I have boards dedicated to Succulents and Gardening Tips that you may enjoy. You can also find me on Facebook.

