Photinia propagation tips
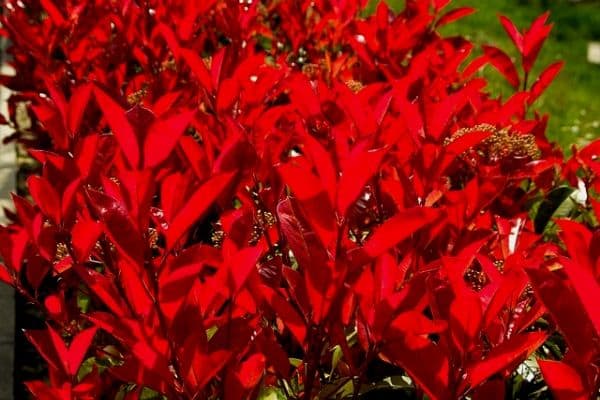
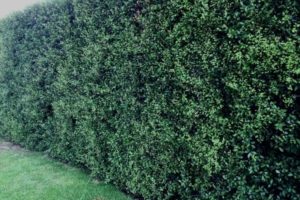
Photinias are beautiful small trees that make an attractive hedge.
They’re fast growing, with gorgeous shiny red leaves and cream colored flowers in spring.
Photinias are easy to propagate, even for beginner gardeners, and in this article I’ll show you step by step how to root photinias from cuttings.
Propagating your own Photinia plants is a great way to save money, especially if you’re planning on growing a long hedge.
This post contains affiliate links. Please read the disclosure for more info.
How to propagate Photinias from cuttings
The best time of year to
take photinia cuttings is mid to late summer when the stem is just the right
thickness.
Early morning is the ideal time to take the cuttings,
while they’re still moist from the dew. You can also take your cuttings on a
cool, cloudy day.
It’s a good idea to disinfect your pruning shears or knife before you begin.
I like to use a weak tea tree oil solution with one part tea tree oil and ten parts water. You could
also use bleach in place of the tea tree oil.
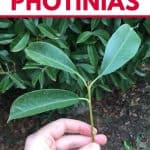
Take the cuttings about 3 to 4 inches (8 to 10 cm) from the tips of healthy stems and cut just below a leaf on a slight angle.
Keep the cuttings out of sunlight while you’re working. Even a few minutes of exposure to direct sunlight will cause the cuttings to dry out and die.
If you can’t plant your cuttings straight away, wrap them up with some moist paper and place them somewhere cool.
Any cuttings that show signs of wilting should not be planted.
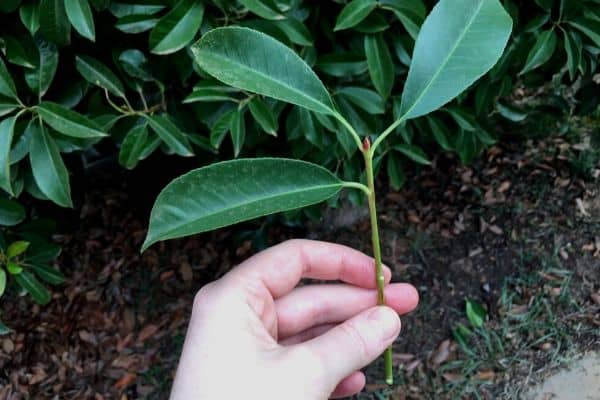
Cuttings lose moisture through their leaves, so remove the lower leaves and just keep the leaves at the tip.
If the leaves are large, cut them in half but be careful not to damage the tips at the end of the cutting.
If you like, you can dip the stem in rooting powder or gel
before planting the cutting to encourage root growth.
If you prefer a natural option, you can use honey as a natural rooting hormone.
RELATED: How To Use Honey To Root Cuttings
Potting mix for Photinia cuttings
The best potting medium for
rooting cuttings is a mixture of river sand and coconut coir. You can also use a mix
of peat moss
, perlite
and vermiculite
.
Cuttings develop a better root system in a soil-less potting medium which promotes root growth instead of leaf growth.
Caring for Photinia cuttings
Make your own mini-greenhouse by bending two pieces of wire to form an arch over the top of your pot.
You can then place a plastic bag over the top of the wire and use an elastic band or string to secure it.
Try not to let the cuttings touch sides of the bag because they may become mouldy.
After about three to four weeks, you can check if your cuttings have rooted by gently pulling on the stems.
If you feel resistance, it means the cuttings have grown roots.
At this stage you can remove the bag and place the pot in a well lit spot indoors.
Keep the leaves moist by regularly misting
them, especially if you have a heater running inside.
Gradually expose the cuttings to direct sunlight and plant
them outside in spring.
Photinia plants grow fast and you can expect between 1 to 3 feet (30 to 90 cm) of growth per year depending on the variety. [1]
These propagation tips apply to all varieties of Photinia including Photinia Red Robin, Photinia Robusta and Photinia Glabra Rubens.
RELATED ARTICLES
- 10 Easy To Propagate Houseplants
- 10 Flowering Climbers
- 10 Purple Flowering Shrubs
- How To Grow A Photinia Hedge
Have you tried propagating Photinias? Was it successful? Let me know in the comments below.
Are you on Pinterest? I have boards dedicated to Gardening and Gardening Tips that you may enjoy. You can also find me on Facebook.
Don’t forget to pin this post so you can come back to it when you’re ready to start propagating.


This was really helpful. I have a red robin photinia bush at home and I’d like to propagate some more plants to make a nice hedge alongside my driveway. It’s getting towards the end of summer where I live so I’ll need to take my cuttings soon! Thanks for this info.
I took photina cuttings last year, potted them up and on a greenhouse over winter. They kept their colour, but no roots formed. I have had them outside in pots all summer but still no growth, have just reported one of the pots to try indoors in a cool potting shed with plenty of light. Not sure why they aren’t coming on
Where do I keep the cuttings while they are rooting? Should they be indoors with little to no sunlight?
Hi Athena, I like to cover the pot with a plastic bag to keep the moisture in while the cuttings are taking root.